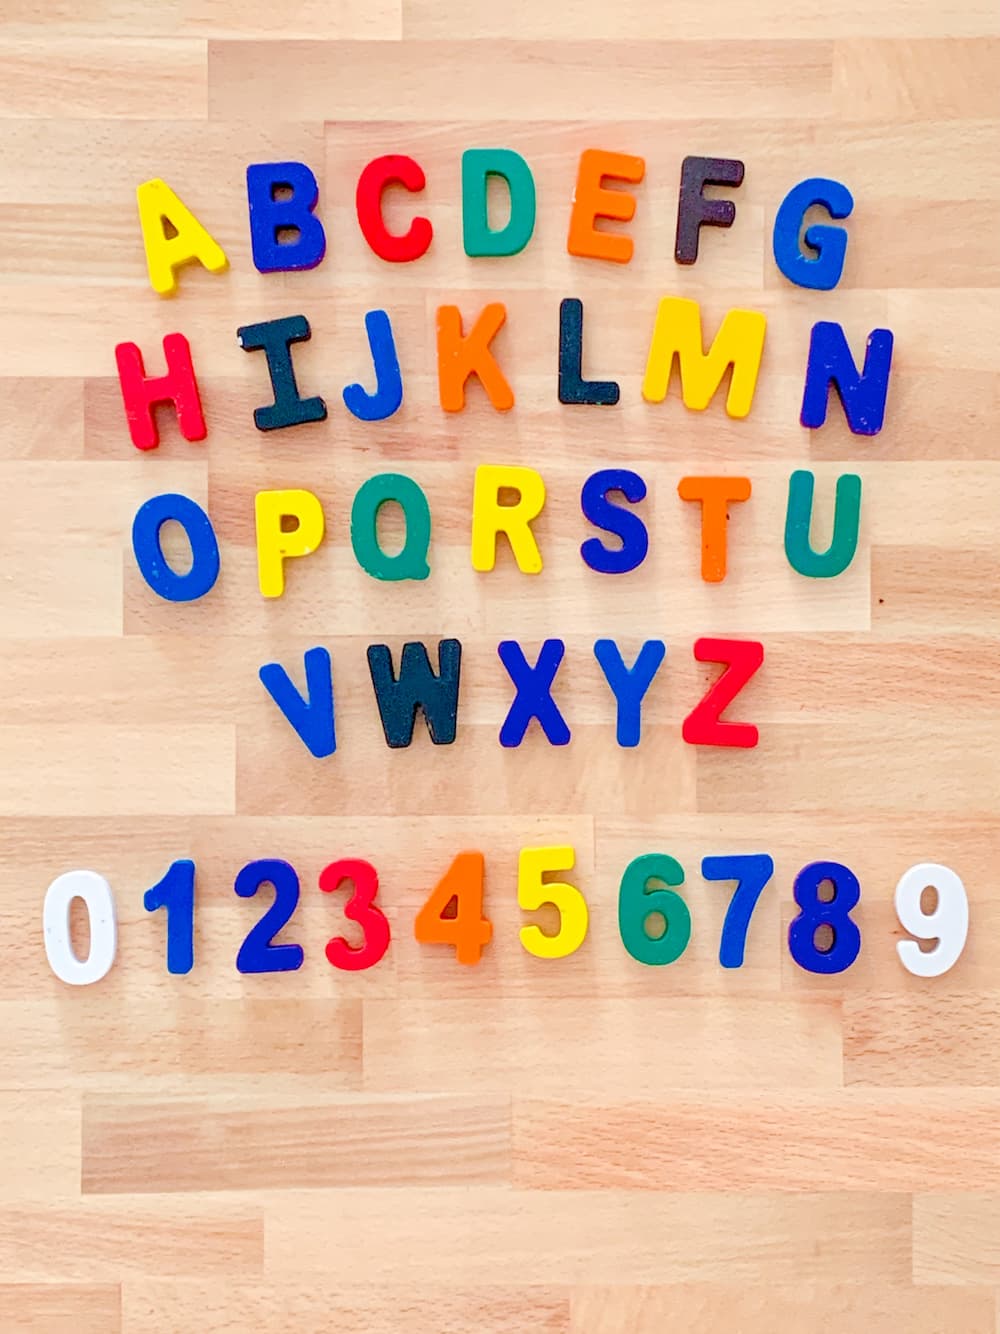
Crayon Alphabet
Use old and broken crayons to make the alphabet. Work on letter recognition, spelling, and coloring. Perfect for those broken crayons that you don’t use!
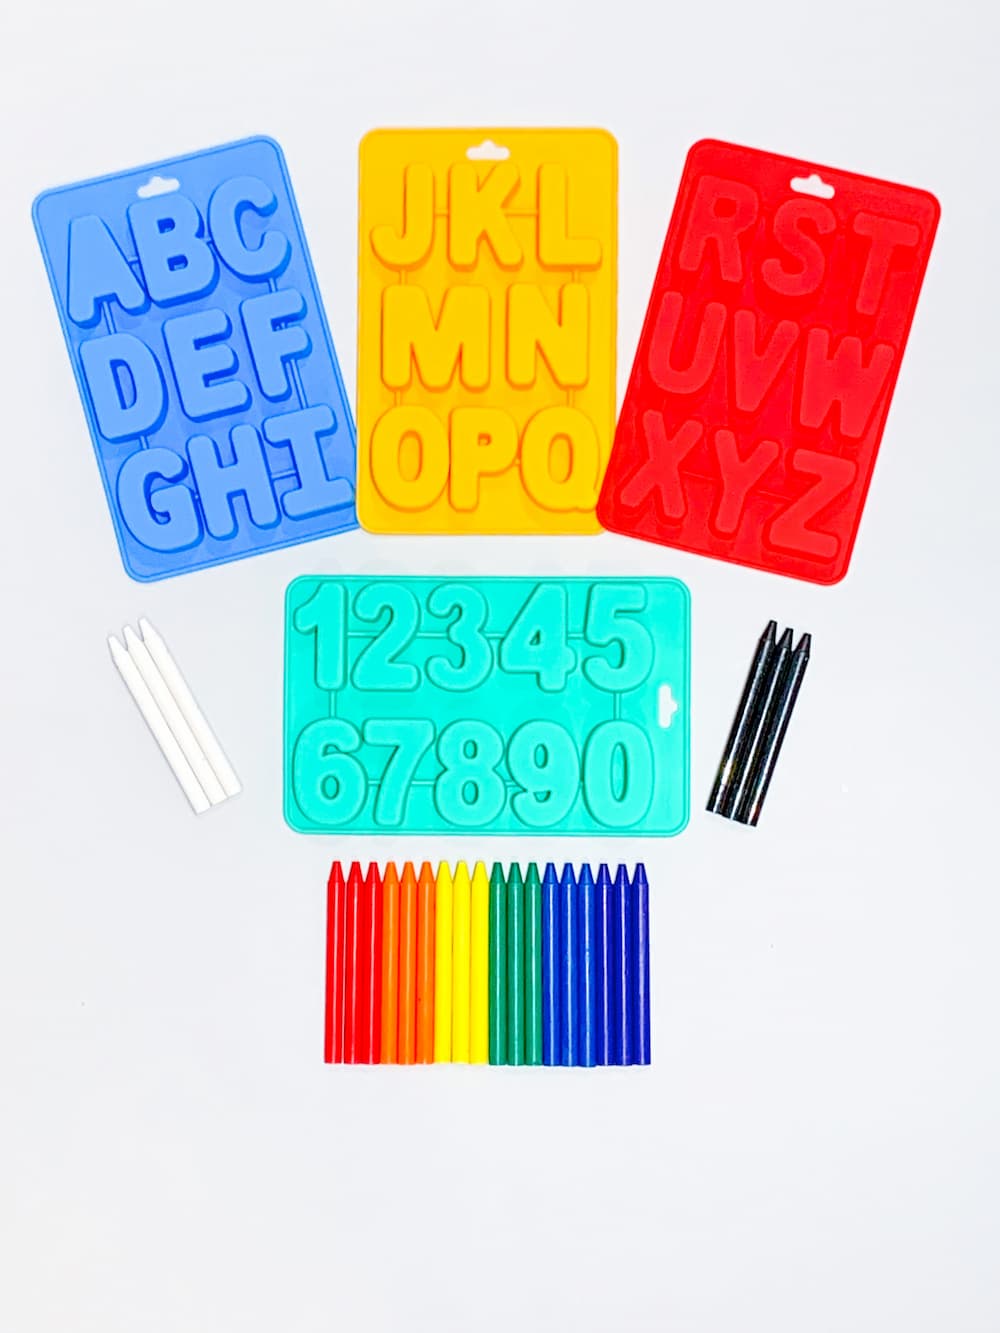
Materials
- Silicone Alphabet and Letter Mold
- Crayons
- Cookie Tray
How To
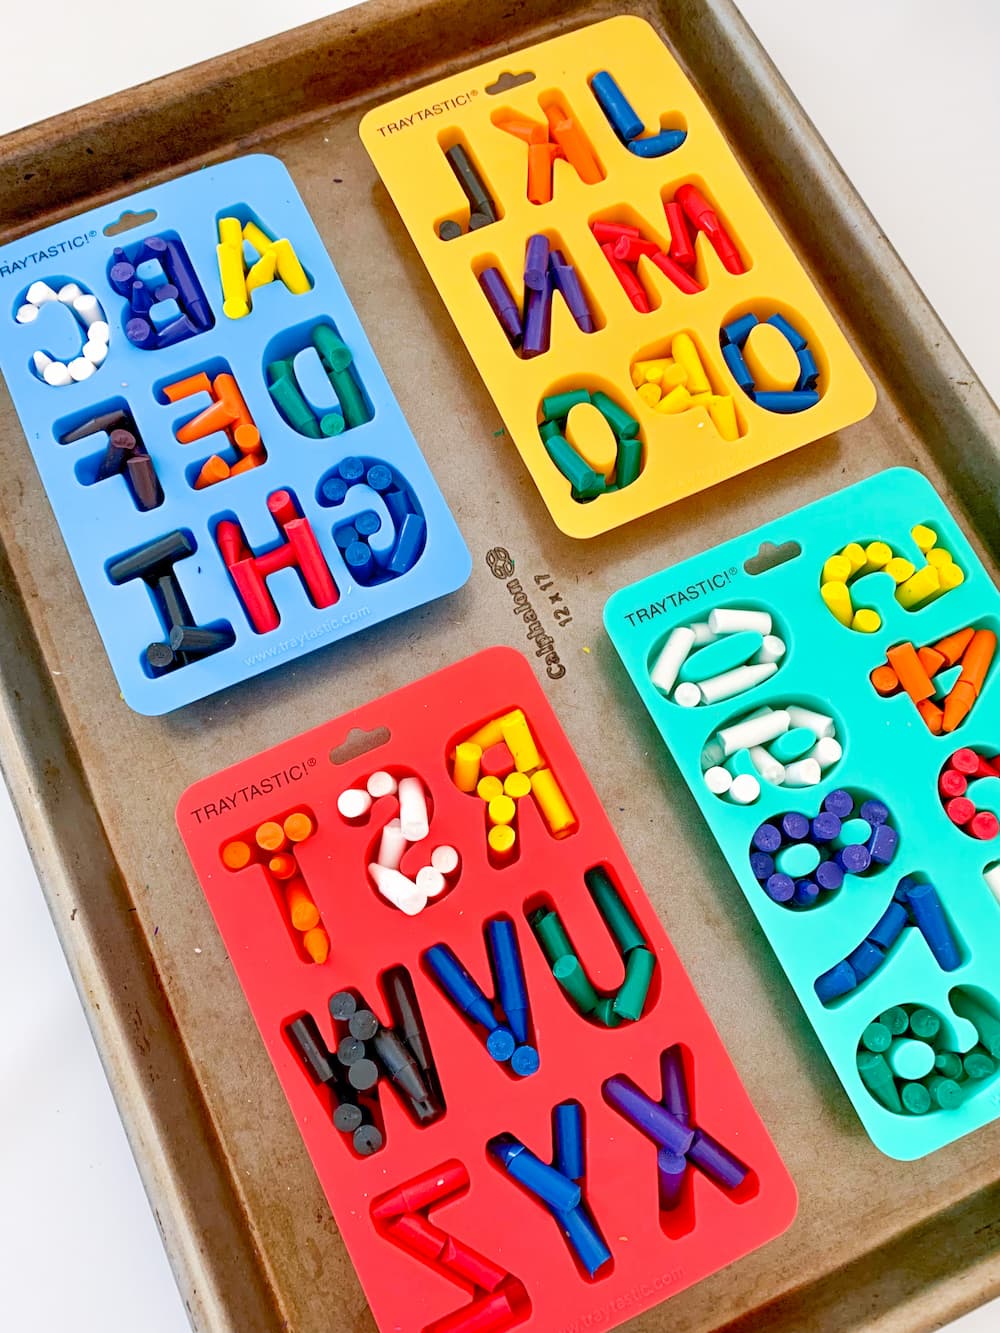
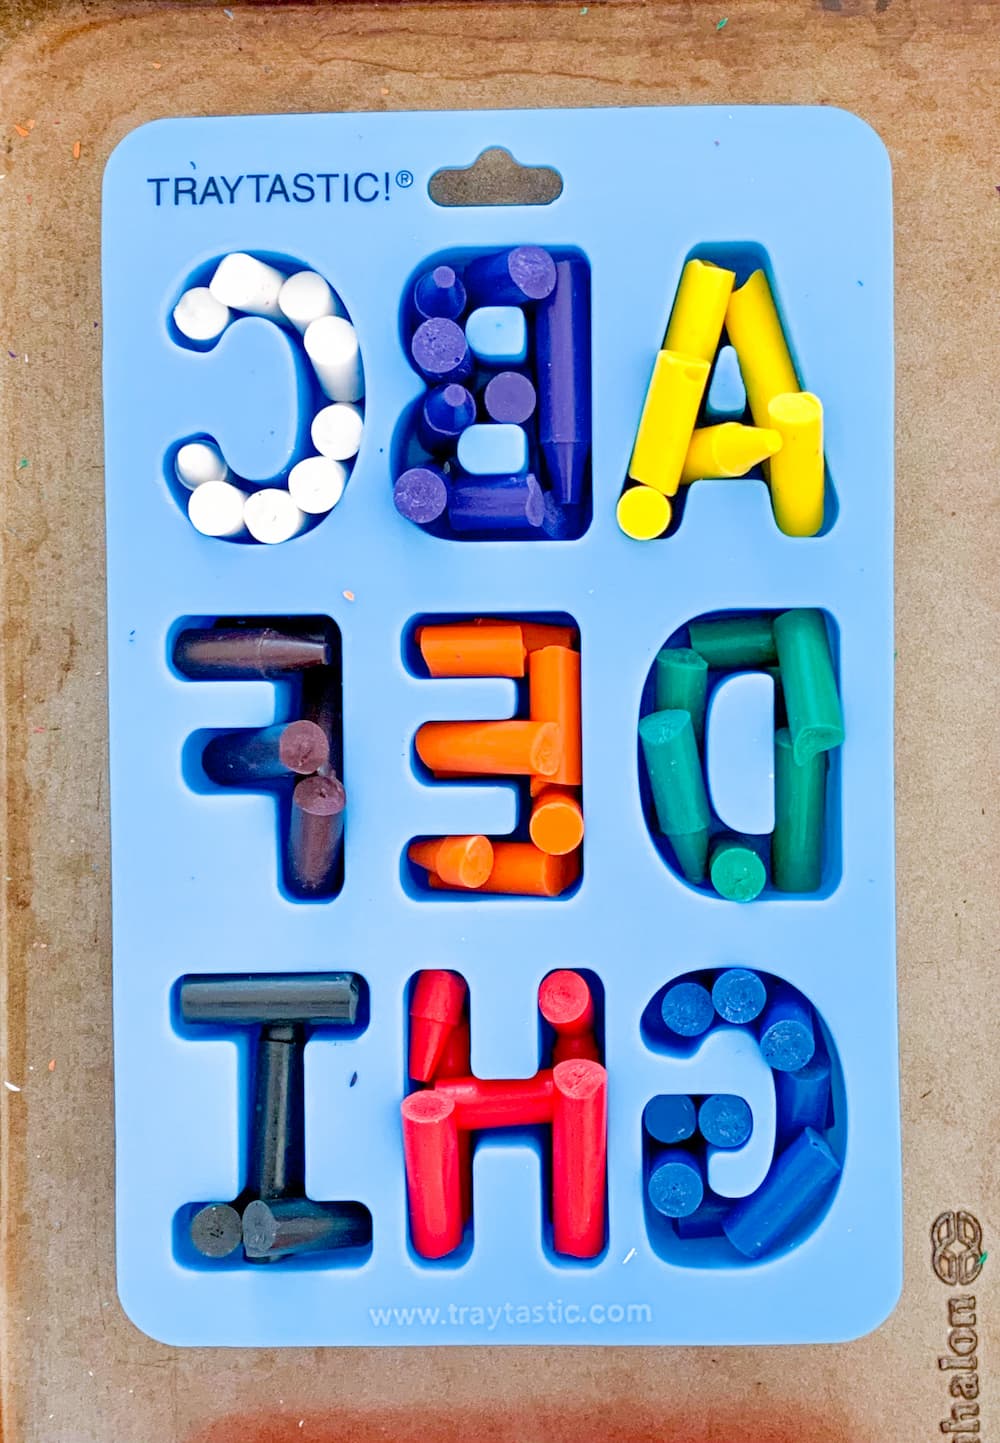
- Break apart the crayons into little pieces. You don’t have to worry about standing them up or laying them down. Just fit them into the mold as best you can. When they melt, they will level out!
- You can choose the Montessori Red Consonants and Blue Vowels, or ask your child what colors they would like!
- Place the molds on a cookie sheet and then put them in the oven for 10 minutes at 200 degrees. Make sure to check on them often.
- Next, take them out of the oven and place on the counter to cool for a few minutes.
- Carefully remove the molds from the tray and place them in the freezer on a flat surface.
- After two hours, take the molds out of the freezer.
- Gently peel back the silicone from the crayon letters/numbers. DO NOT pull the crayons out of the mold, pull the mold off the crayon.
Skills
 Pincer grip
 Letter recognition
 Hand Strength
Tips with Miss Charlotte
These crayon letters and numbers are such a fun way to incorporate phonics into play! This activity is perfect for those broken crayons that you don’t use. If you don’t have enough, you can always order in bulk! In fact, they now sell them without the paper label which saves you time! If you are using your own stash of broken crayons, soak the crayons in warm water for 20 minutes. This will help to peel the labels off more quickly! If you break a letter/number don’t worry, I’ve done it too! You can easily reattach the pieces. Dangle both broken ends over a candle flame and press back together. Hold for a moment or two and leave it to set. It will work just the same! You can put them in water, foam, shaving cream etc. Just about any sensory bin! You can make the letters of your child’s name and encourage them to find the order they go. You can make these again and again in the color scheme of holidays! Let’s not forget they are crayons, so your child can also draw/color with them. Another fun way to use them is mixing colors! For example, half of the letter can be red, and the other half can be yellow; do this with your child and explore what happens when they melt. You may be surprised yourself!
Enjoyed these DIY projects?
Join the Playgarden Online community today for more preschool activities at home!