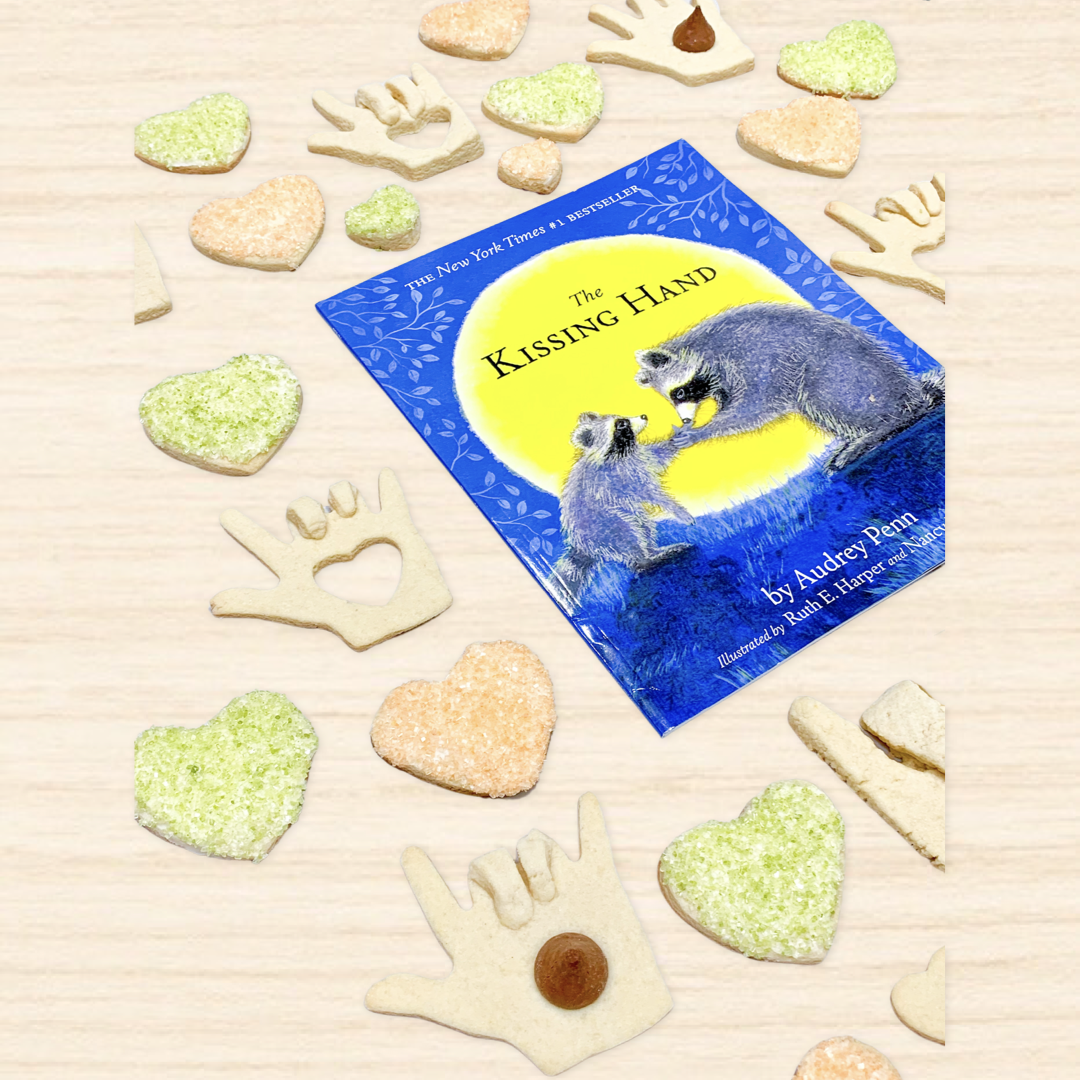
Kissing Hand Cookies
In my house, food was love. We were raised baking and cooking alongside my mother and grandma. I knew I wanted to expose my daughter to the same warm memories and carry on traditions from our kitchen. My daughter was 18 months old the first time we baked together. It was the holiday season and I was beyond excited to bake Christmas cookies with her. I gathered the ingredients, laid out the measuring cups, and propped her up on the countertop. Fast-forward about seven months later, I invested in a “Helper Ladder,” which I highly recommend. The measurements were not accurate, as I allowed my little Joy to explore scooping and pouring. I did my best to eyeball the corrections but the truth is, I can’t remember how the cookies tasted! What I do remember is the sound of her laughing, Christmas music playing in the background, and her face when she tasted flour thinking it was the sugar.
We tried many recipes for sugar cookies, but waiting for the dough to chill always seemed to put a damper in the activity. Teaching patience is a wonderful virtue to instill in little ones, but waiting can be really hard—especially when it comes to cookies!
I highly recommend this NO CHILL recipe!
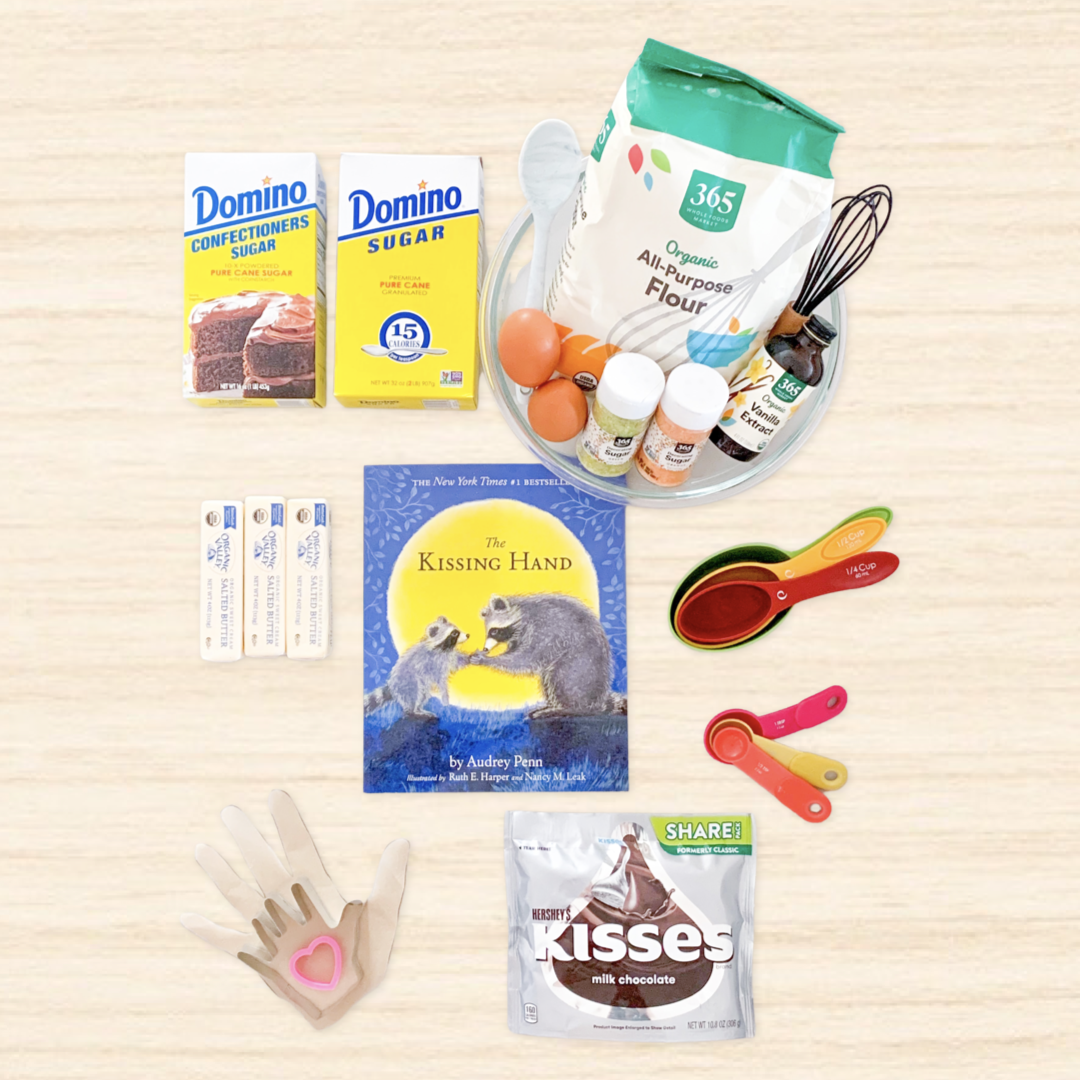
Materials
- 1 cup unsalted butter (softened)
- 1 and ¼ cups of sugar
- 2 eggs
- For the cookies—1 and ½ teaspoons of vanilla extract
- 3 and ½ cups of all purpose flour
- For the icing—½ Cup unsalted butter softened
- 3 and ¼ Cups powdered sugar
- 2 tablespoons of milk (I used oat and it came out just fine. You do you!)
- For the icing—½ Teaspoon vanilla extract
How To
- Preheat oven to 375 degrees. Line cookie sheets with parchment paper. Set aside.
- In a bowl, cream the butter and sugar together until light and fluffy. Add in the eggs, vanilla, and extract, and then beat until combined. Slowly add the flour, stirring just until combined. Turn dough out onto a lightly floured work surface and use your hands to form into a ball. Little ones will love this, as it's similar to Play-doh!
- Roll the dough to about 1/4-inch thickness. You can eyeball it. You don’t want the cookies too thin or too thick. Make sure they are the same thickness, otherwise they will cook unevenly.
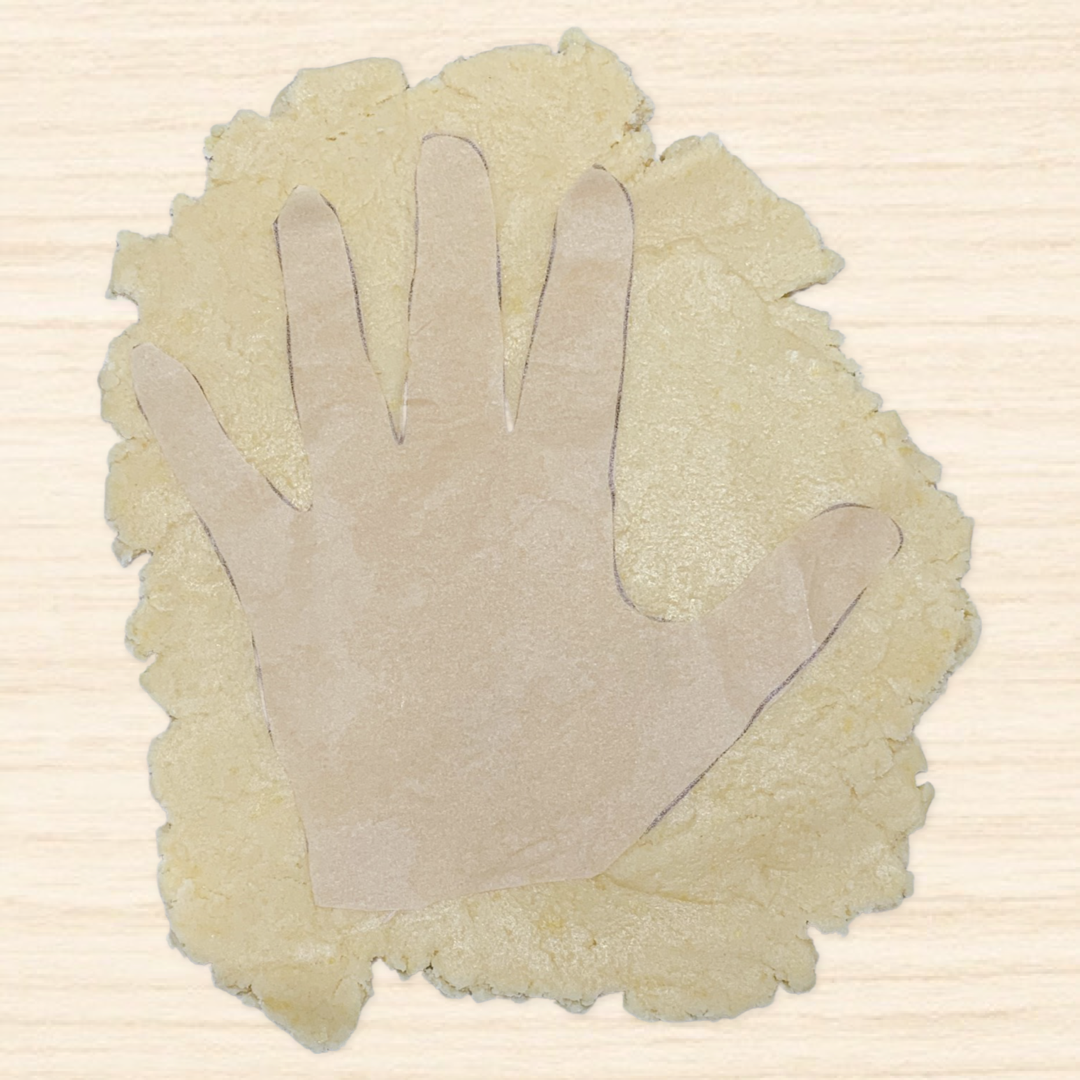
- If you have the hand cookie cutter, go ahead and start cutting out your kissing hands. If you don’t, grab some parchment paper and trace your hand and/or your child’s hand. Cut out the hand shape, place it on the dough and using a knife cut out the shape of the handprint.
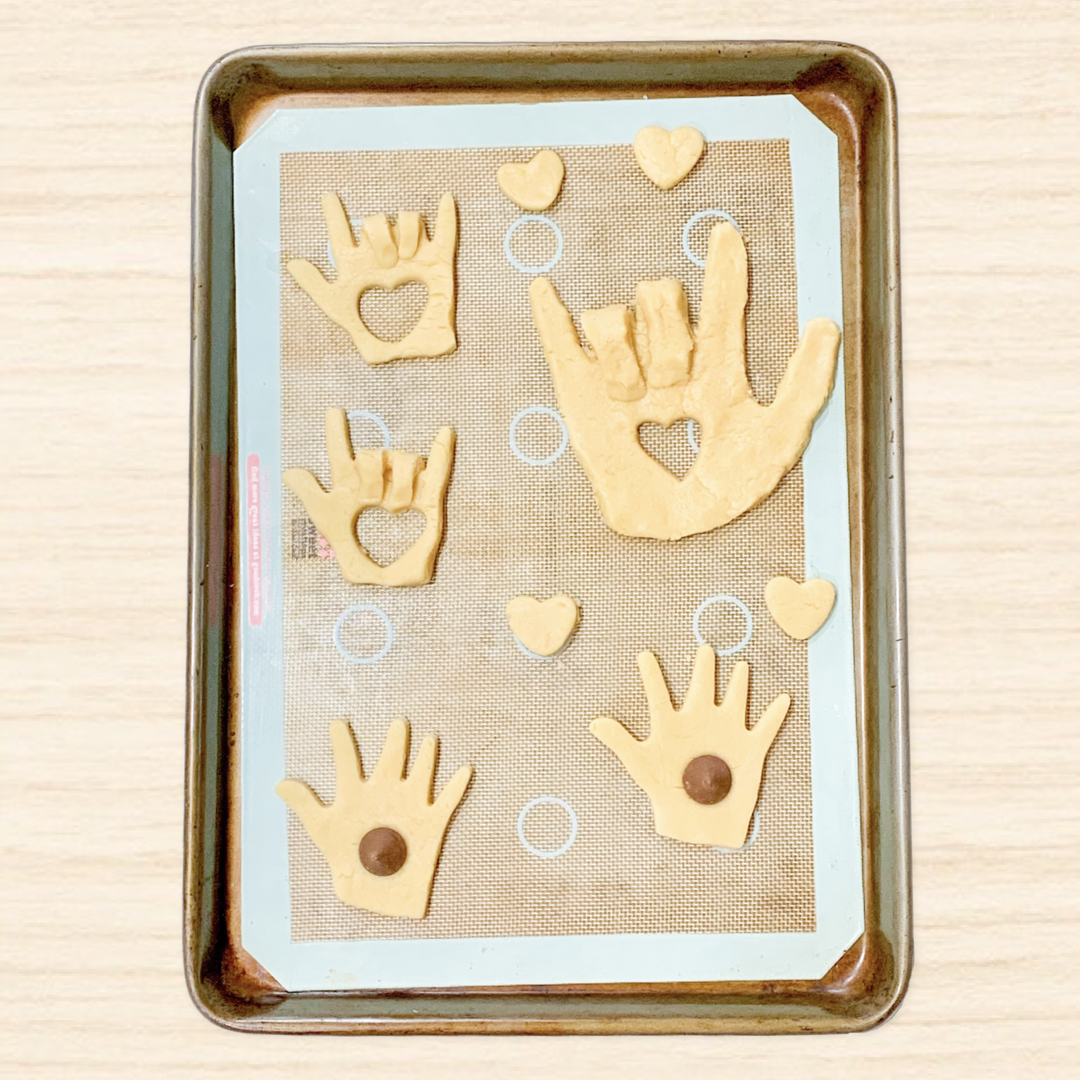
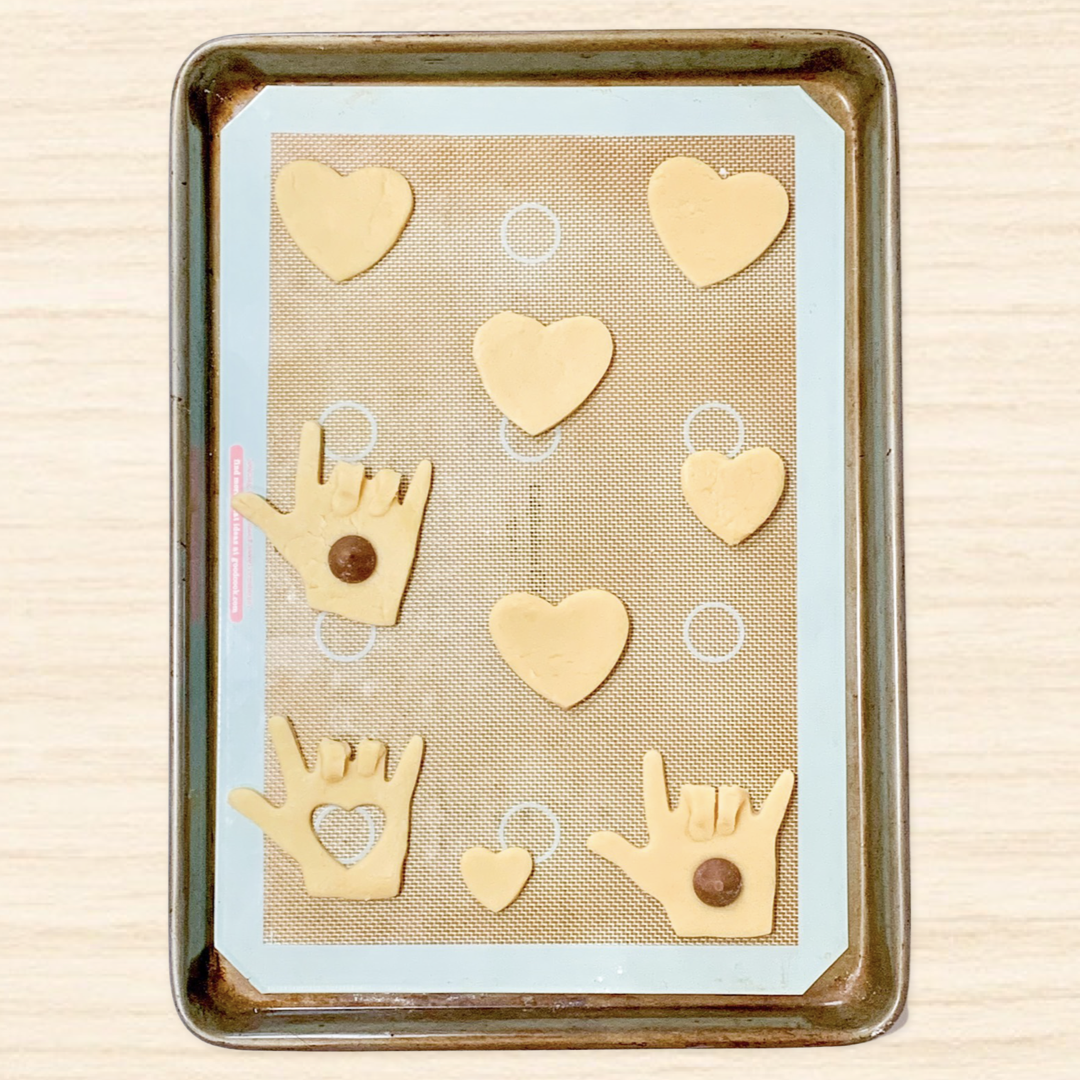
- Next, you can either cut out a small heart in the center of the cookies, fold the ring and middle fingers down for the American Sign Language “I love You,” or place a Hershey’s chocolate kiss in the palm of the hand.
- Place cookies on the prepared baking sheets—be sure to spread them out (see photos), they will expand in the oven!
- Bake cookies for 10-12 minutes, or just until the edges barely start to turn golden.
- Remove from the baking sheets to a rack to cool before icing.
- For the icing, beat the butter with an electric mixer until creamy. Beat in the powder sugar, and then add the milk and flavor extract. Beat until combined, adding more milk or more powdered sugar as needed to achieve desired spreading consistency. You can add in food coloring at this point, should you wish to.
- Set out the icing in a small bowl and allow your child, using a child-sized knife, to spread the icing on.
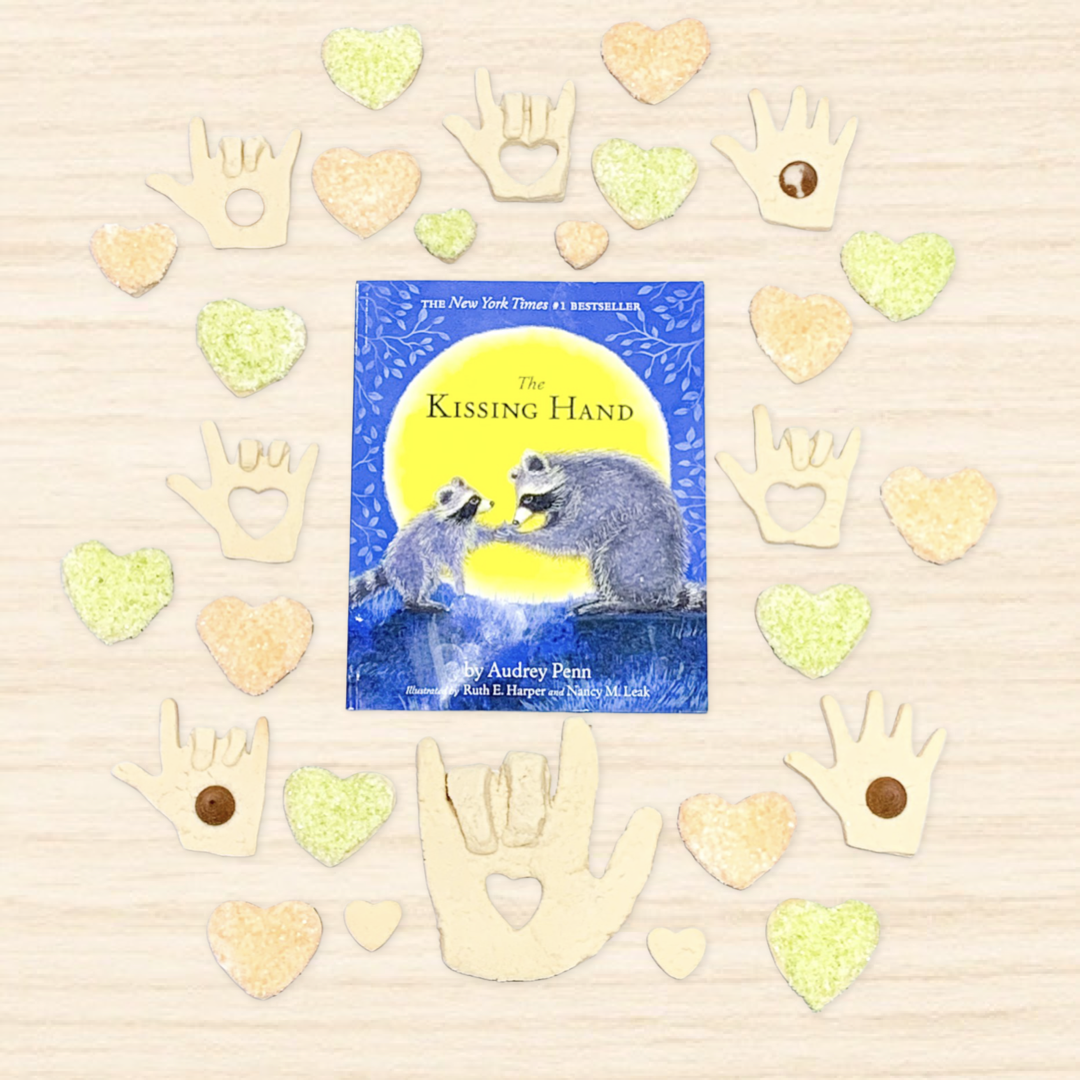
- Snuggle up and read The Kissing Hand with your little one, while you enjoy a kissing hand cookie!
Enjoyed these DIY projects?
Join the Playgarden Online community today for more preschool activities at home!