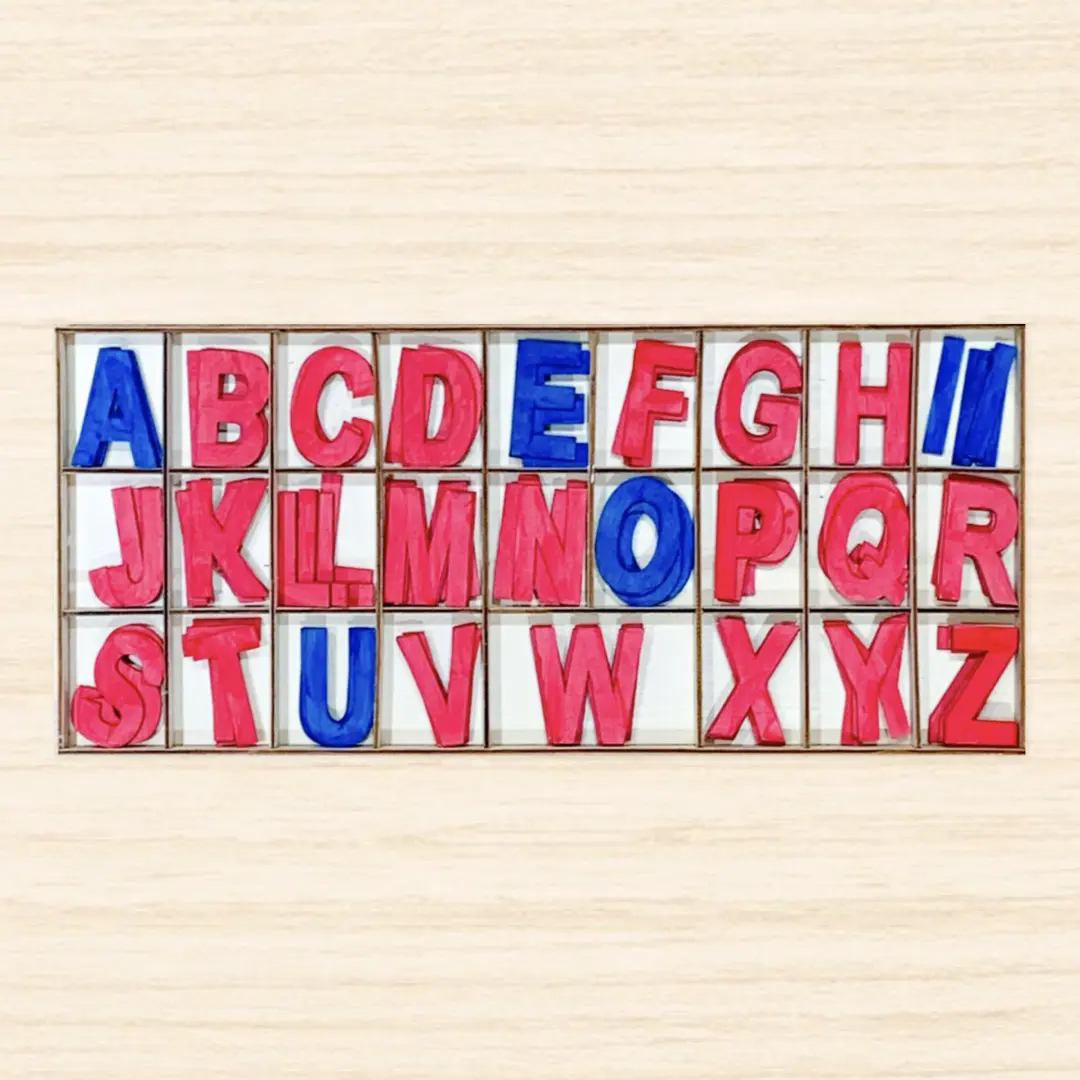
Painted Moveable Alphabet
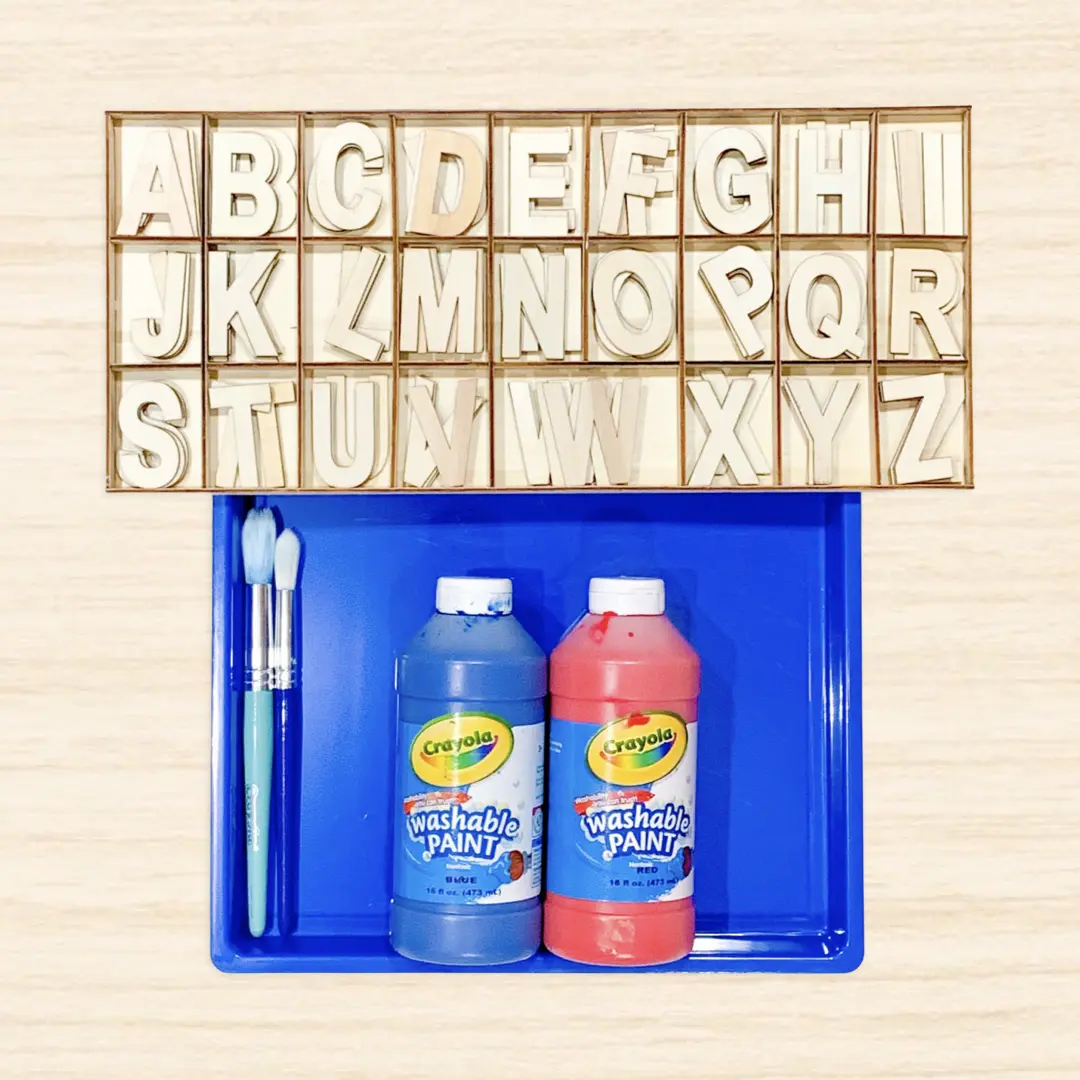
Materials
- One Set of a Wooden Alphabet
- Red and Blue Paint
- Thick Paintbrushes (soft bristles so it’s a smoother look)
- Tray
How To
- Get ready to get messy!
- If you have access to an outdoor area, I suggest using spray paint because it’s much faster. I do not have that option, so painting was the way I went!
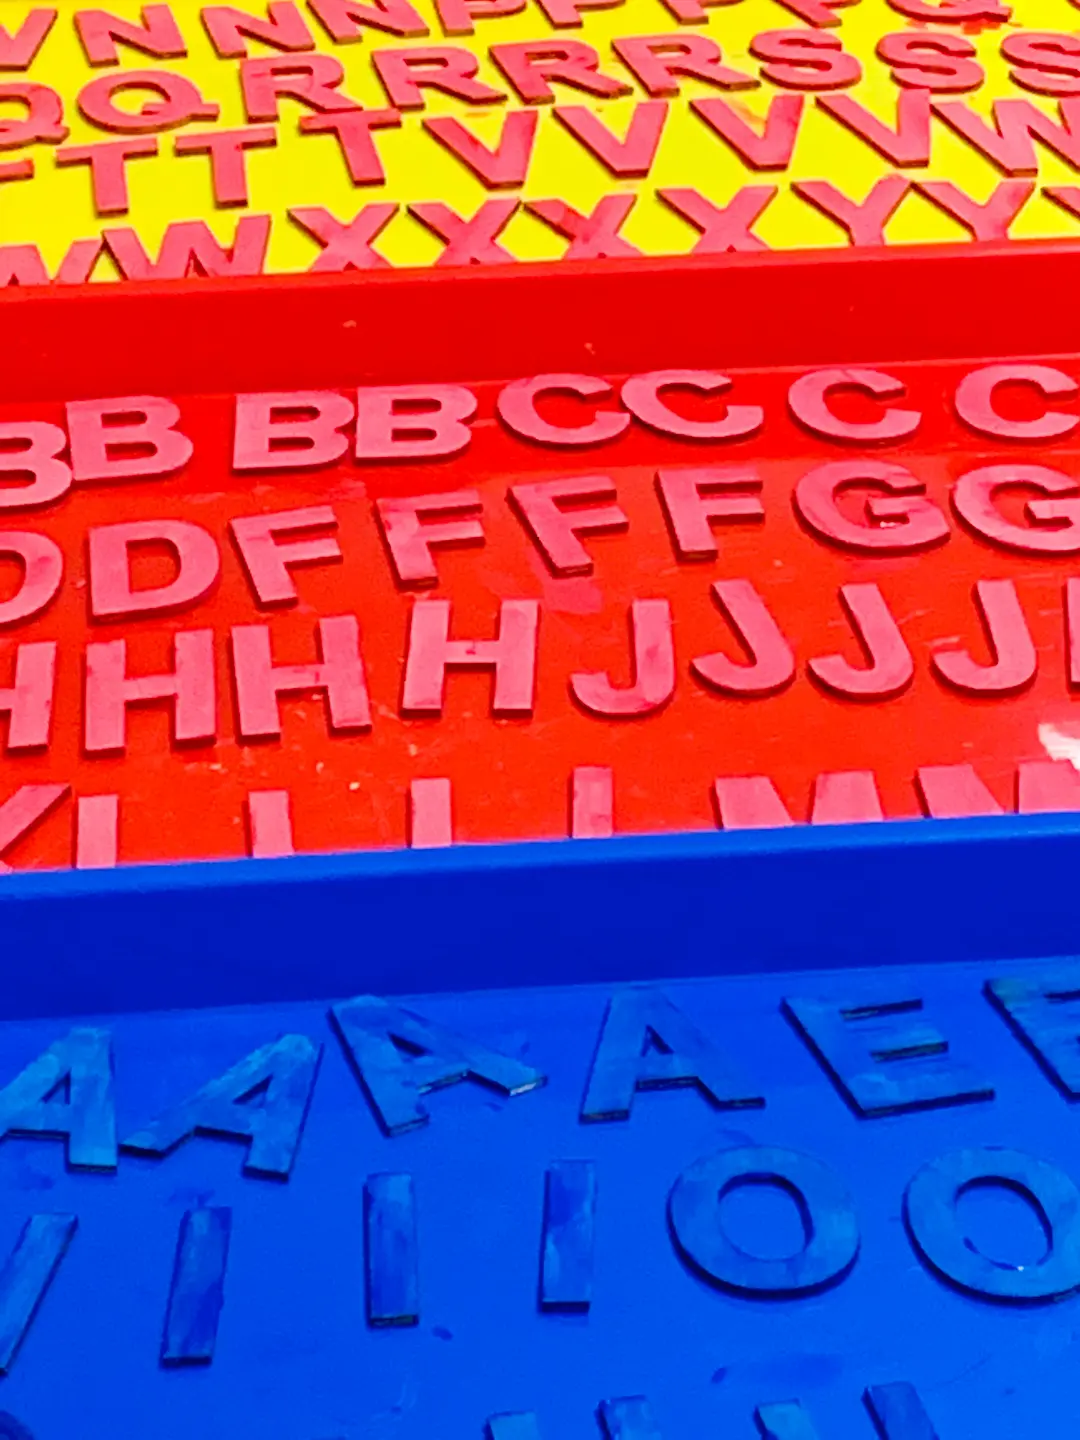
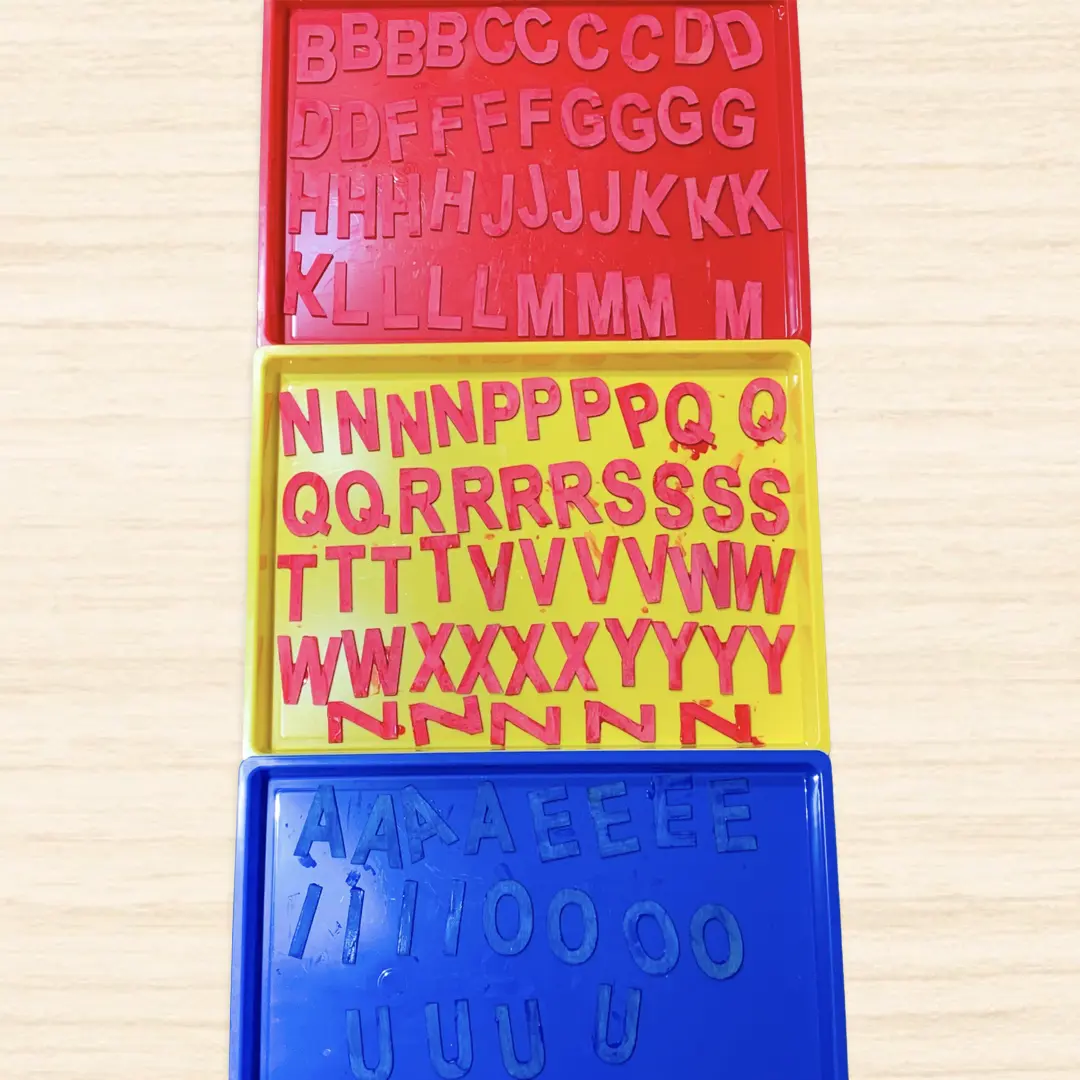
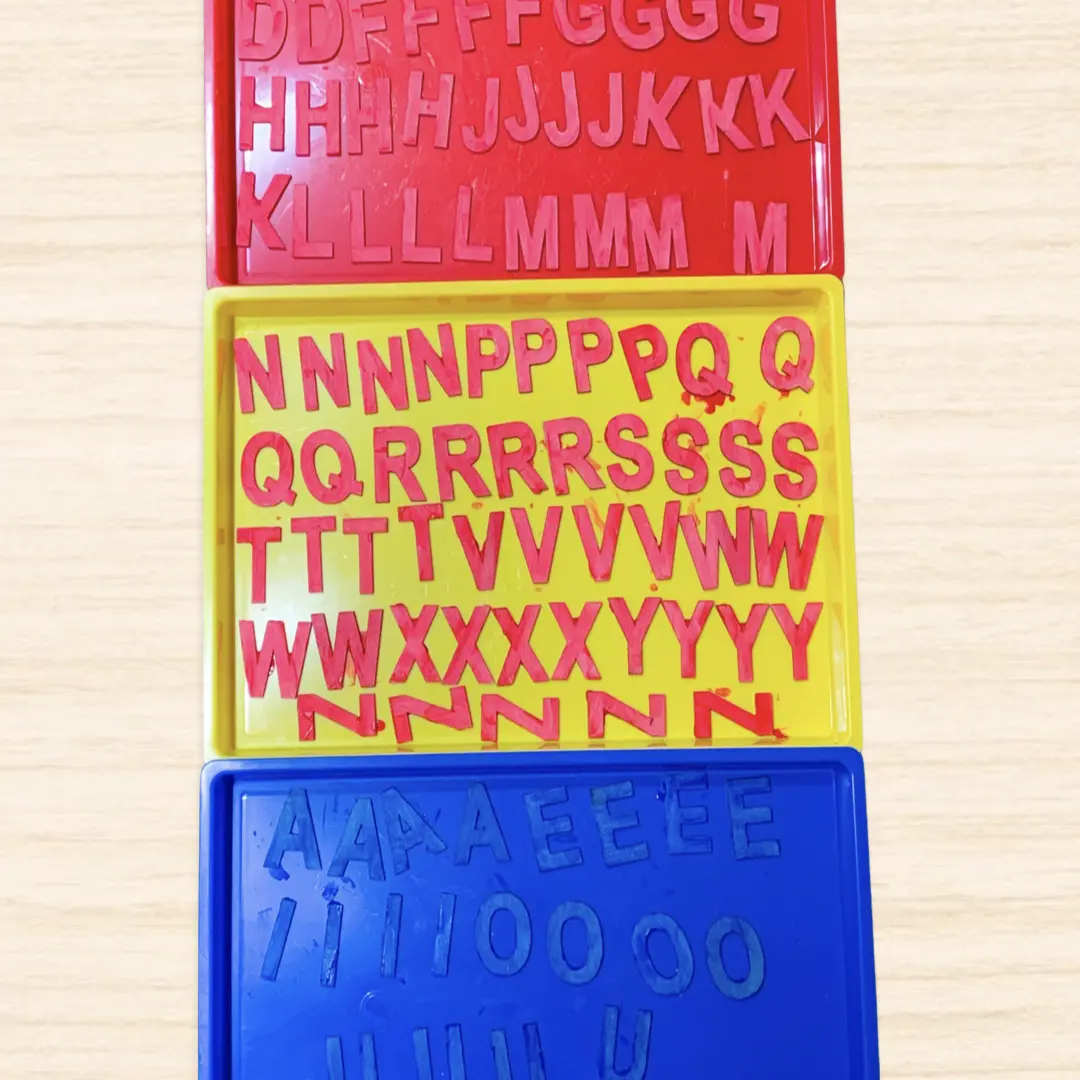
- Paint all the vowels blue and the consonants red.
- Lay the wooden letters on your hand and paint the side facing up. You will get paint on the bottom but no need to paint both sides. In fact it’s better that you don’t paint both sides so that your child will be able to identify the correct orientation of the letter using the painted side. Yes, you will get paint all over your hands…it washes off!
- Lay the letters on a tray. No need for parchment paper or paper towels because you can simply wash the tray when finished.
- Wait two hours until they fully dry. The blue may require a second coat.
Tips with Miss Charlotte

Using a soft brush will decrease the amount of coats you have to do.
Enjoyed these DIY projects?
Join the Playgarden Online community today for more preschool activities at home!