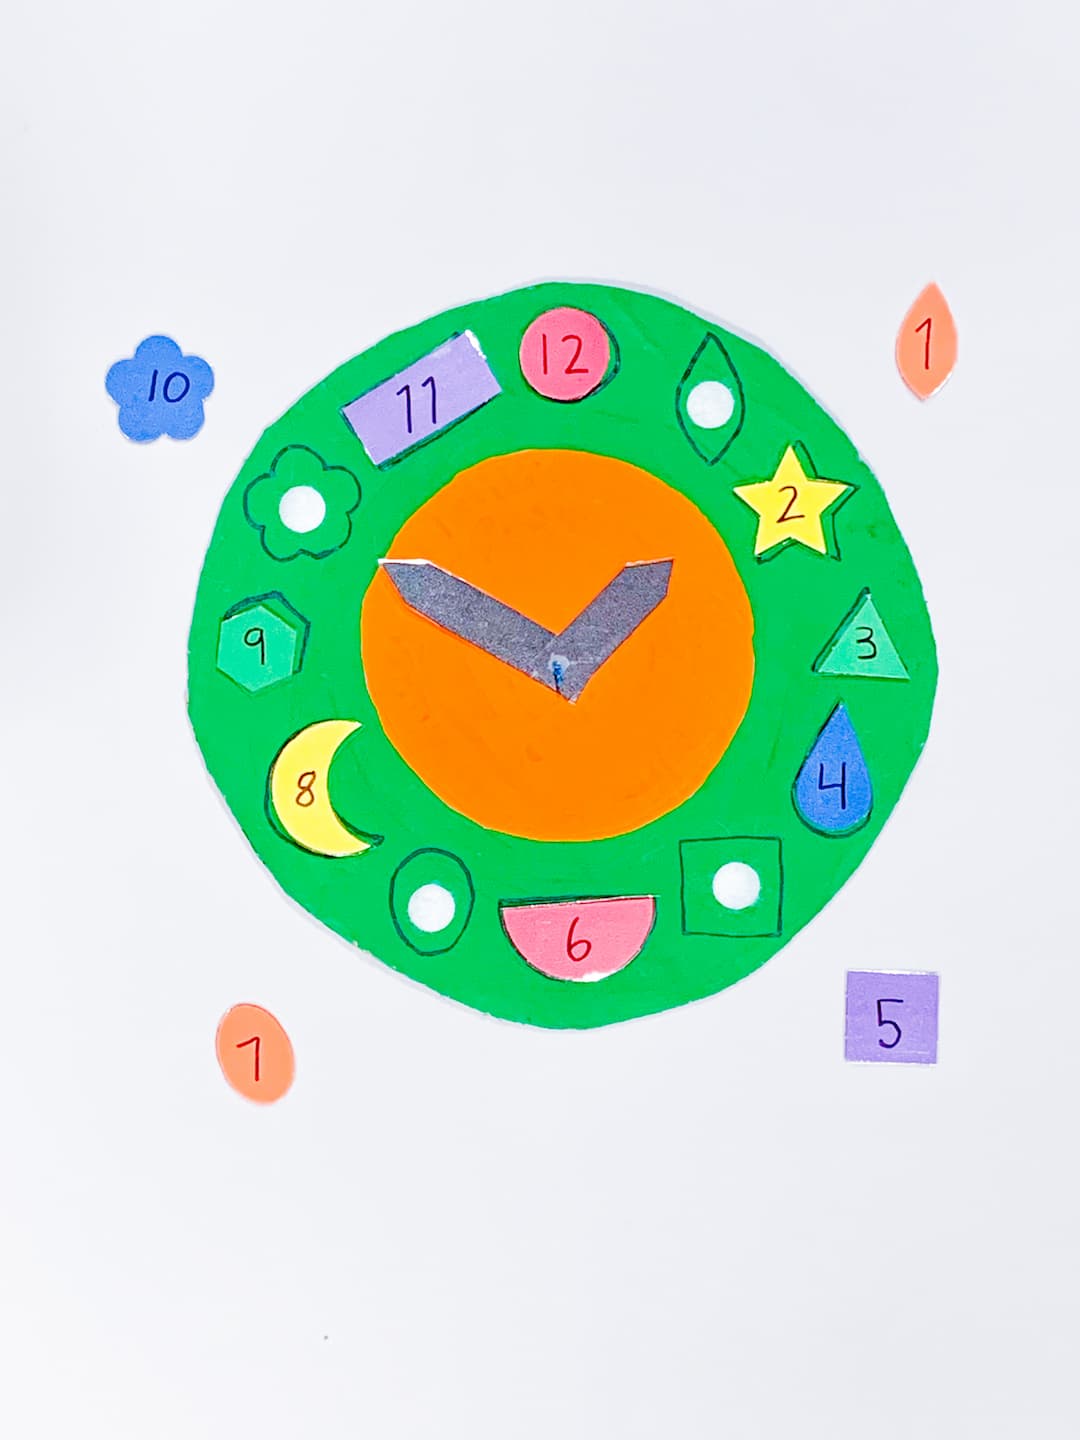
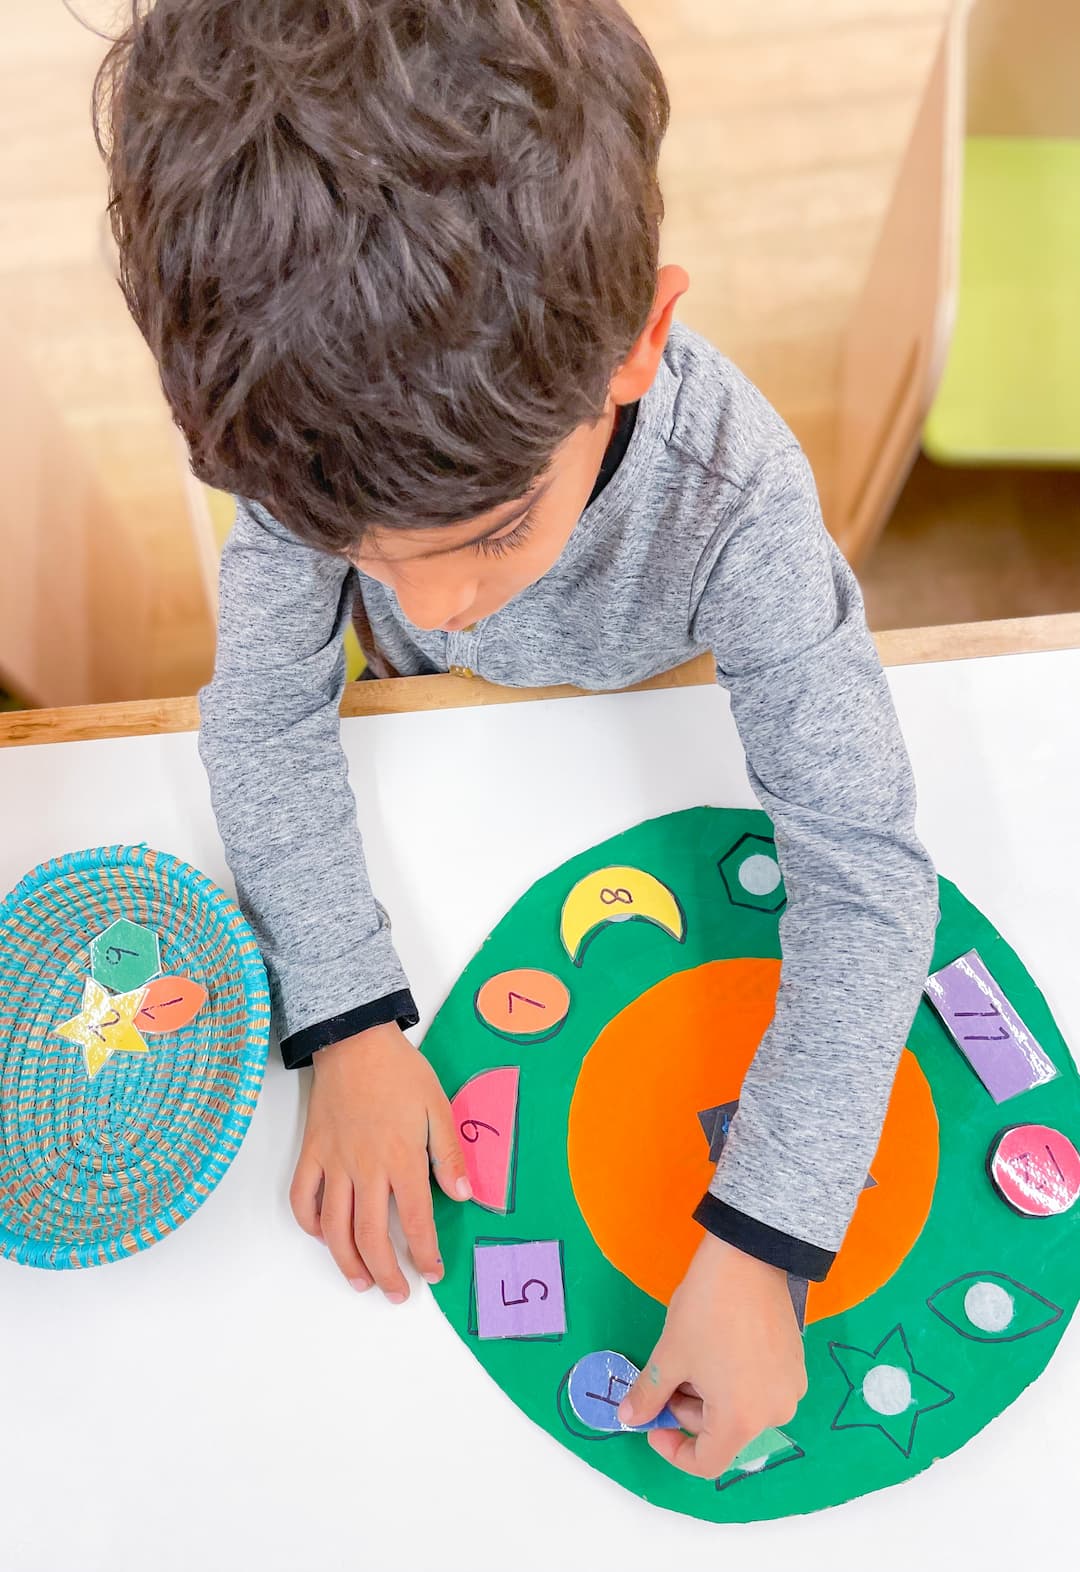
Shape Clock
A fun way to teach shapes and introduce time!
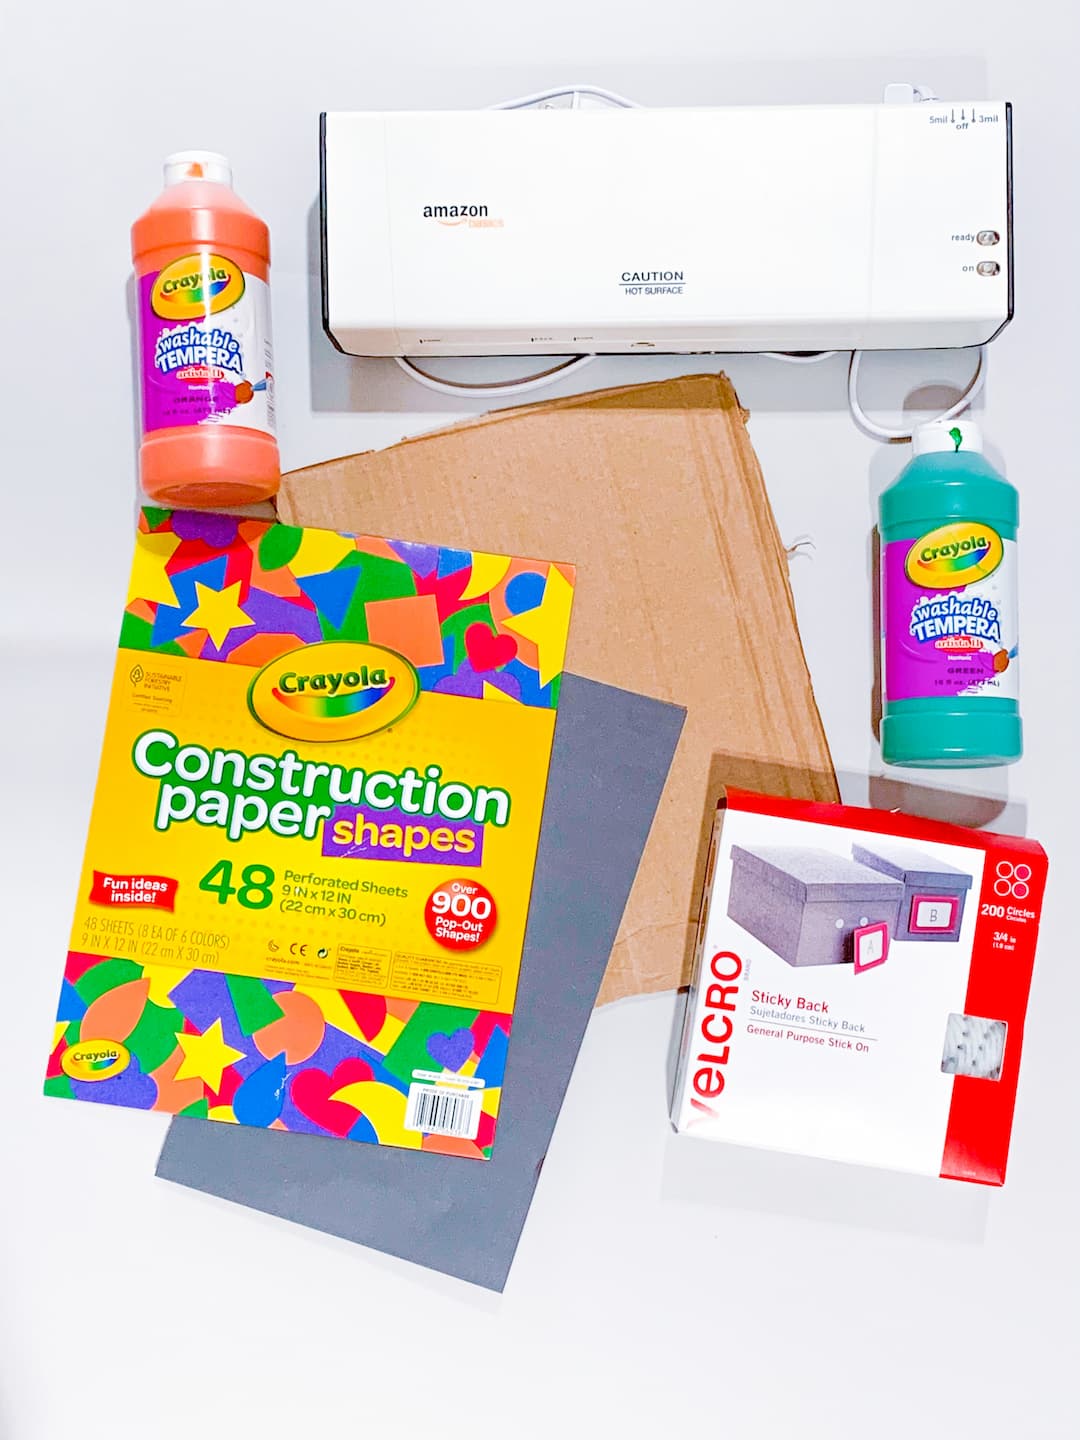
Materials
- Laminator
- Crayola Brand Construction Paper Pre-Cut Shapes (or cut your own shapes!)
- Paint
- Cardboard
- Velcro Dots
- Paintbrush
- Rubber Band
How To
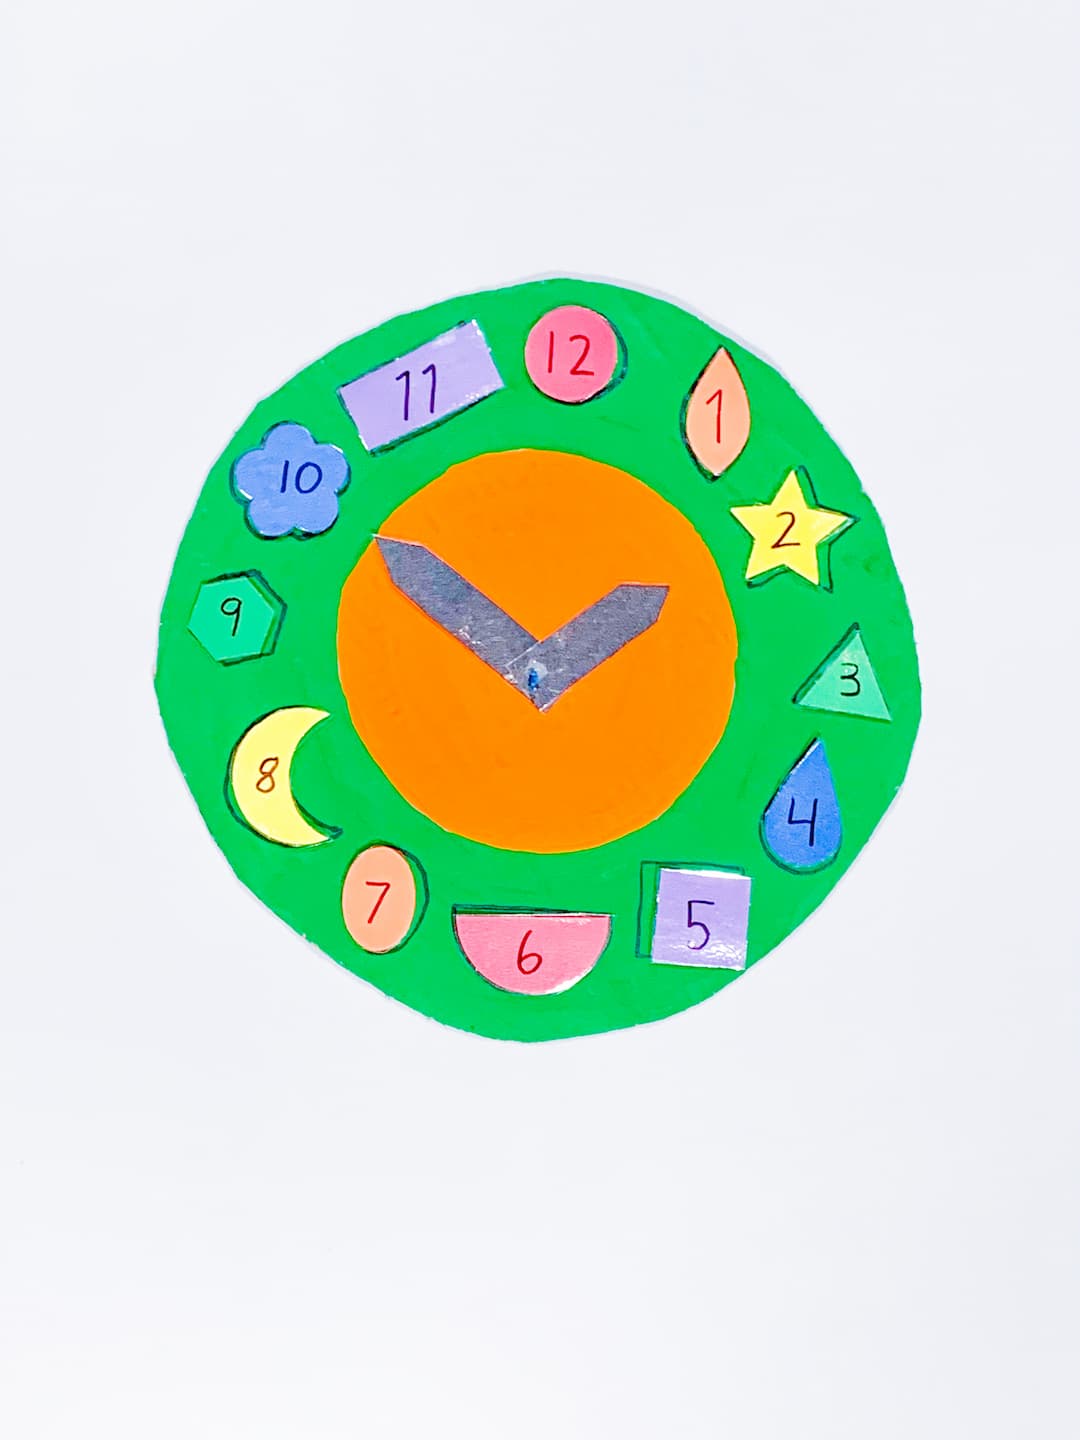
- Cut out a circle large enough to fit 12 shapes around
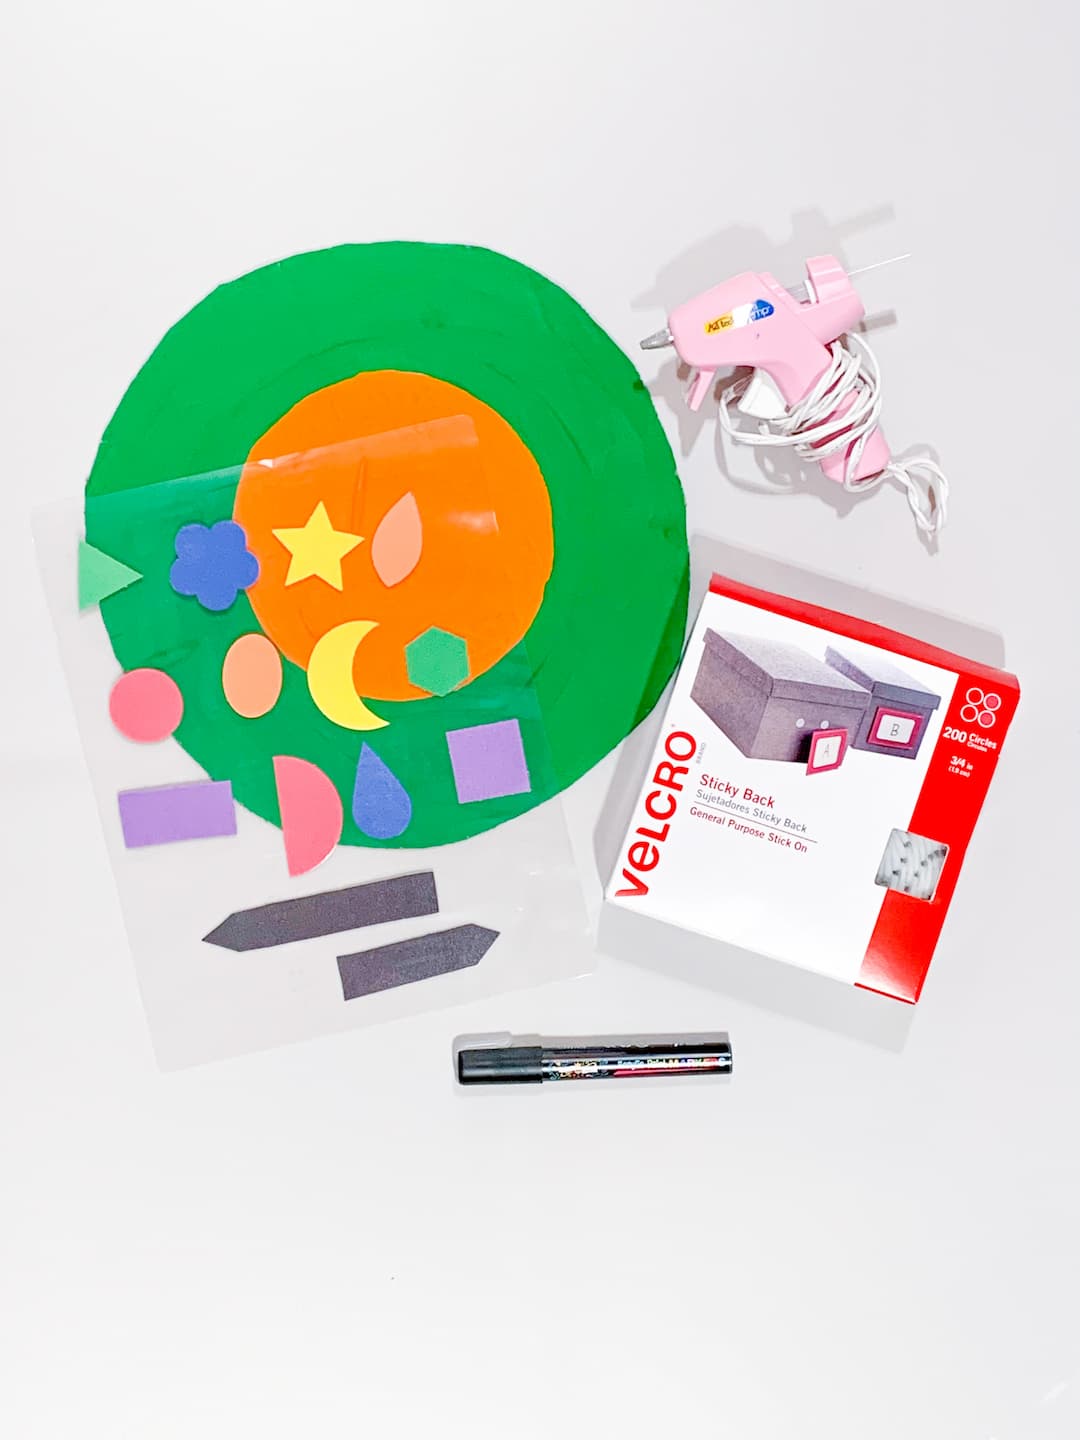
- Paint the cardboard and set it aside.
- Punch out 12 shapes. We chose two sets of every color of the rainbow so they could be set opposite each other.
- Laminating them will make them slightly thicker and stronger. Place them around the clock and write the numbers in appropriate order!
- Count out 12 Velcro’s and place the soft side around the clock where the numbers should be.
- Apply the scratchy side of the Velcro to the back of the shape with the corresponding number.
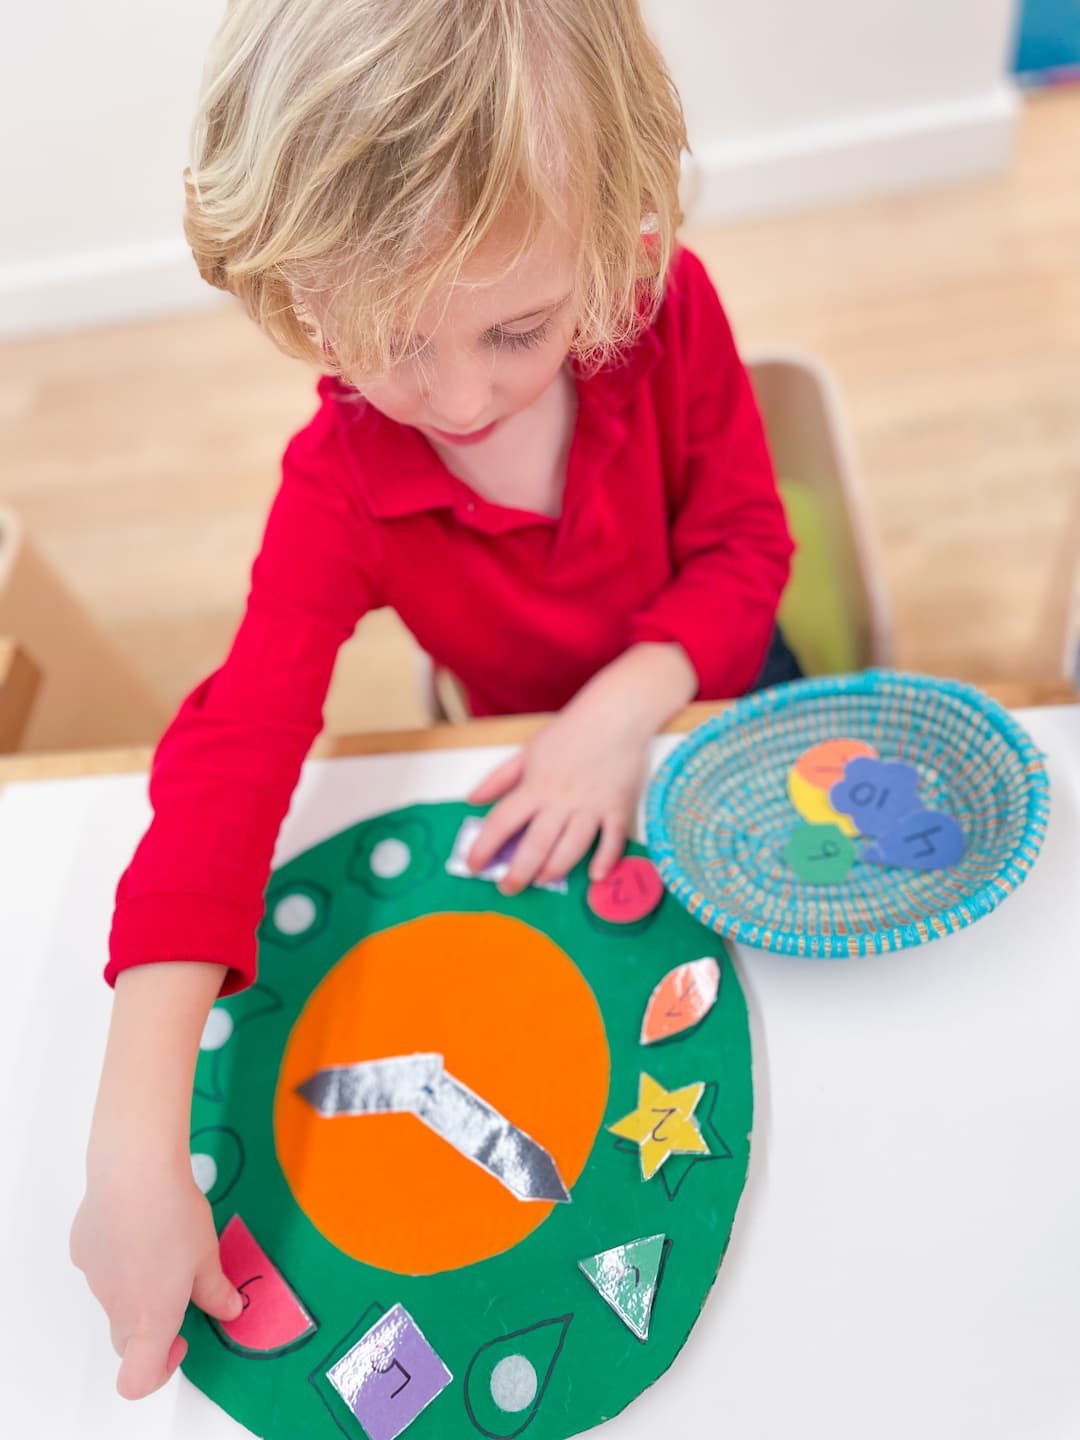
- Measure out two arrows and laminate them.
- Punch a hole through the ends, using the tip of the scissors.
- Punch a hole through the center of the clock and pull a rubber band through it. Make a knot at both ends to secure the arrows. You did it!

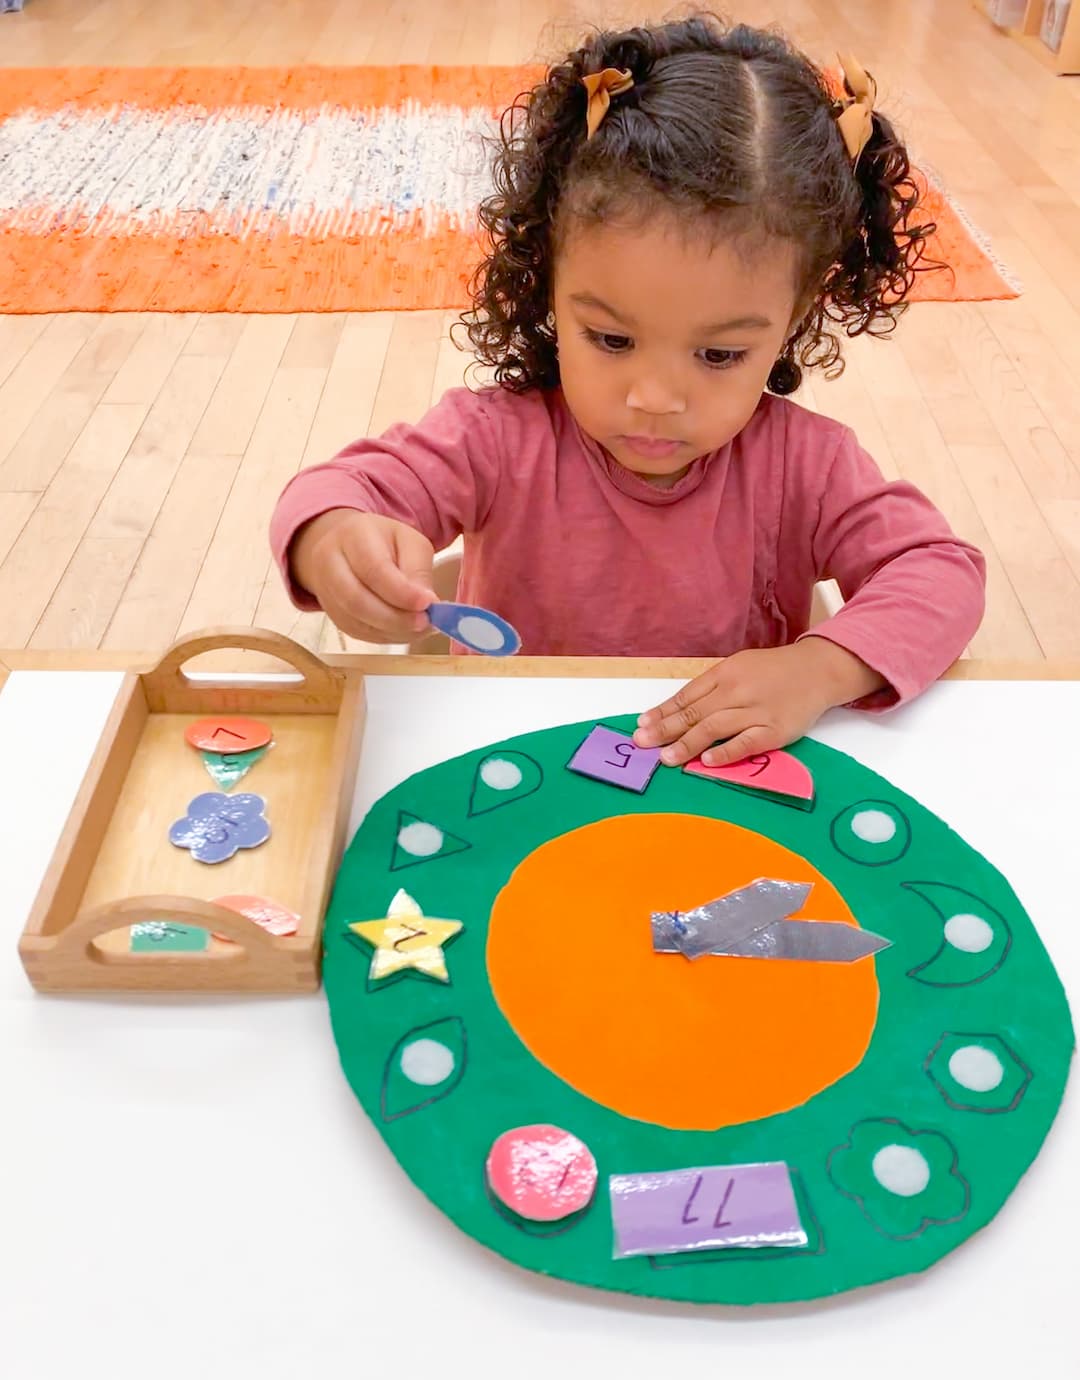
Skills
 Hand-eye Coordination
 Color Recognition
 Matching
 Shape Recognition
Enjoyed these DIY projects?
Join the Playgarden Online community today for more preschool activities at home!